
KNOWLEDGE BASE · Setup & adjustment · Pedal adjustment
Brake: springs, 3rd stage, twin dampers
Brake feel = nominal spring stack + optional 3rd-stage damper-spring combo. Up to 130 kg+ of pedal force in normal setups — from soft road car to…
- PurrPRO FORMULA PEDALS
- Updated 6 Sep 2026
Brake feel = nominal spring stack + optional 3rd-stage damper-spring combo. Up to 130 kg+ of pedal force in normal setups — from soft road car to ultra-stiff historic F1.
Spring stack: two main modulation die springs + one light preload spring, paired with plastic washers (stack them so they support the springs’ internal diameter). Die springs, hardest → lightest: Yellow · Red · Blue · Green · Purple (25 mm), plus thick/thin preload compression springs and 7/10/13 mm preload washers. Factory: 10 mm washer (max 20 mm pedal travel on the preload spring; washer range spans 24 mm).
3rd stage: a damper-spring combo adding modulation feel at the top of braking pressure — set it to engage around 85–90% of max calibrated pressure to find grip at the crucial moment, or use it as a hard-stop travel indicator. Adjust via the 3rd-stage nut (loosen counter nut first): the gap between the hydraulic damper and the brake-arm bearing sets the activation point — every 2.32 mm of gap ≈ 10 mm of pedal travel; smaller gap = activates EARLIER. Minimum gap 2.2 mm (won’t activate before 10 mm travel). Two big die springs included: yellow (factory) and blue (optional — best only for very light/vintage setups). Re-tighten the counter nut when done.
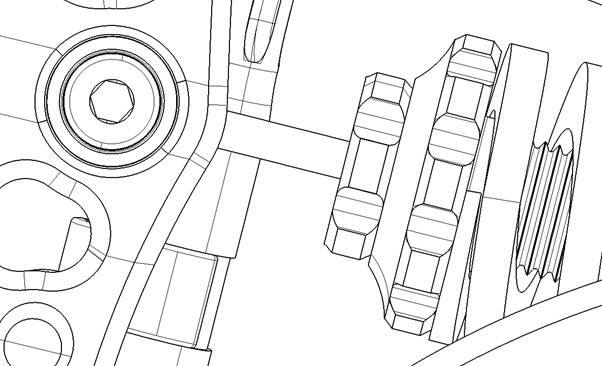
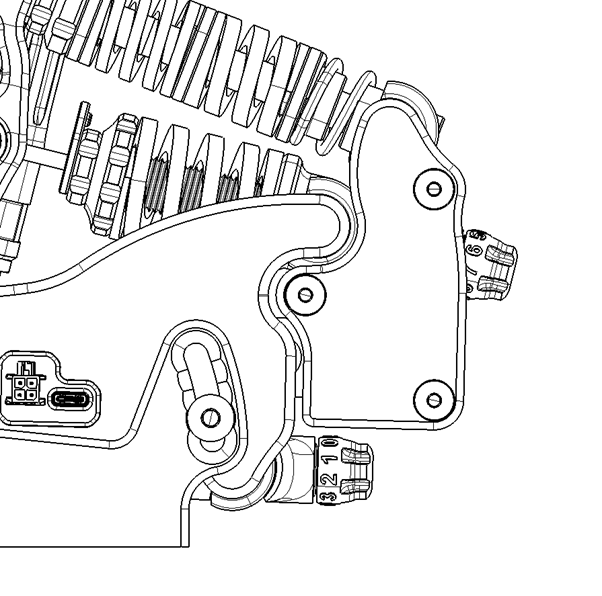
Twin dampers (knobs 0–9, factory 4): the 3rd-stage damper knob controls press (compression) damping; the damper under the pedal controls release (trail-braking) damping. Don’t be afraid of high settings — Patryk races at release 7–8 and “lets the brake do the trail braking”; several fast community members run the same.
WAS THIS HELPFUL?
STILL STUCK?
Talk to us
A human answers, usually within minutes. Your question reaches the people who designed and assembled the pedals.