
KNOWLEDGE BASE · Setup & adjustment · Mounting & first assembly
Mounting to a rig — pedal plate vs 8020 profile
Pedal plate: bolt from underneath the plate into the M6 threaded holes in the pedal foot, using M6 bolts + washers. No disassembly needed if you can reach…
- PurrPRO FORMULA PEDALS
- Updated 6 Sep 2026
Pedal plate: bolt from underneath the plate into the M6 threaded holes in the pedal foot, using M6 bolts + washers. No disassembly needed if you can reach from below — just make sure bolts aren’t so long they hit brake components above the foot (medium-length bolts from the kit usually land right).
Aluminium profile (8020): slide M6 T-nuts into the groove, bolt from above the pedal foot. To access the slots from above, unbolt the 4 bolts holding the pedal base to the foot, mount the foot, torque it fully, then re-attach the base.
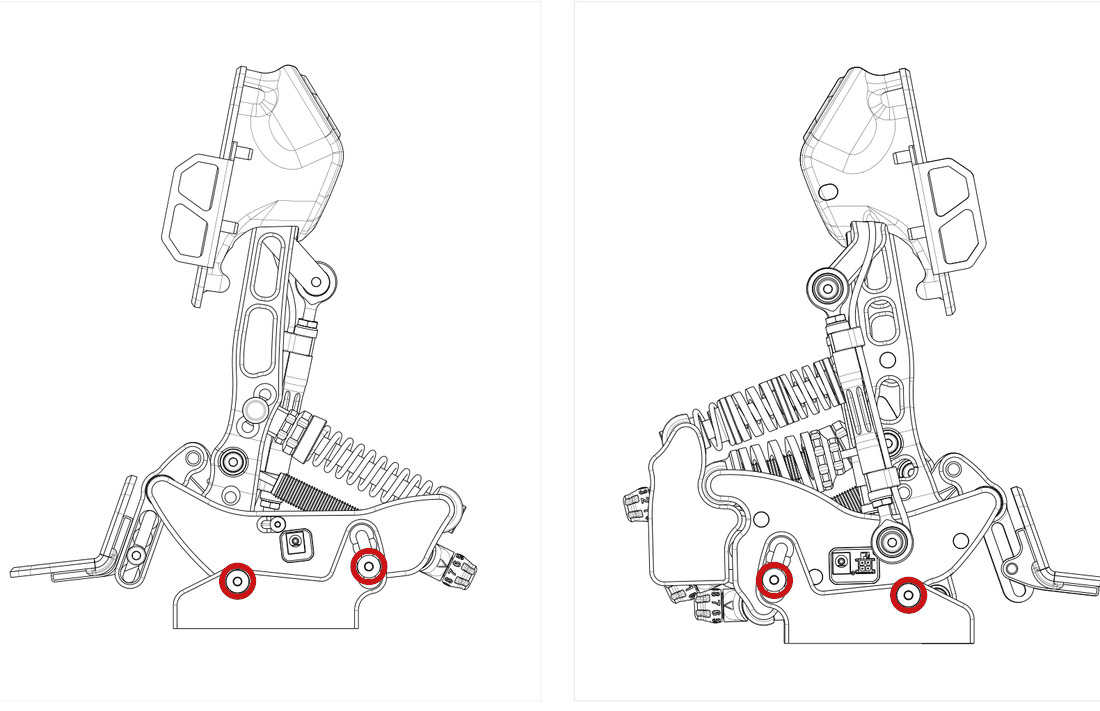
- Position pedals so your whole leg rests on the A.H.S without tension; press/release to confirm no extra stress through your leg.
- Torque all M6 to 10 Nm.
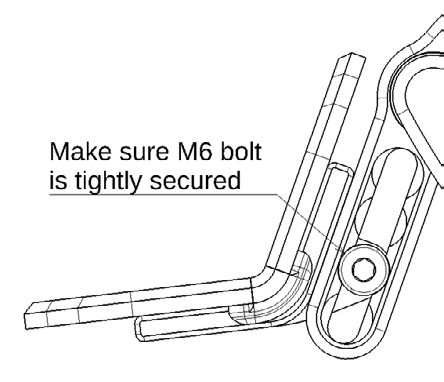
ImportantPedals are designed for a sturdy rig. Do NOT use them free-standing on the floor — they won’t be stable.
WAS THIS HELPFUL?
STILL STUCK?
Talk to us
A human answers, usually within minutes. Your question reaches the people who designed and assembled the pedals.